…the following protocol is adapted from the OMEGA EZNA Tissiue kit online here
Before getting started!
Materials:
-
Tabletop microcentrifuge capable of 13,000 x g
-
Nuclease-free 1.5 mL microcentrifuge tubes
-
Shaking water baths, heat blocks, or incubators capable of 55-70°C
-
Vortexer
-
100% ethanol
-
100% isopropanol
-
Optional: RNase stock solution (only if we also want RNA)
To do:
-
Set water baths, heat blocks, or incubators to 55°C and 70°C
-
Prepare DNA Wash Buffer and HBC Buffer according to the directions; read the bottle and add either 100% ethanol or isopropanol if needed. Check the lid if added!
-
DNA Wash Buffer (100 ml 100% ethanol for kit # D3396-01)
-
HBC Buffer (100 ml 100% isopropanol for kit # D3396-01)
-
NOTE: check buffers for precipitate – redissolve by warming to 37C Heat Elution Buffer to 70°C. If samples are frozen and require dissection, remove from the freezer and let sit for 15 minutes
Procedure
1. Mince 30 mg of tissue and transfer to a 1.5 ml microcentrifuge tube (nuclease free?).
Dissection of tissue (for adult animals..)
..notes pertaining to extraction of adductor muscle tissue
- prepare your lab space before thawing the broodstock
- tools: scalpel, shucking knife, tweezers
- wash beakers: dilution bleach, 70% Ethanol, & DI water
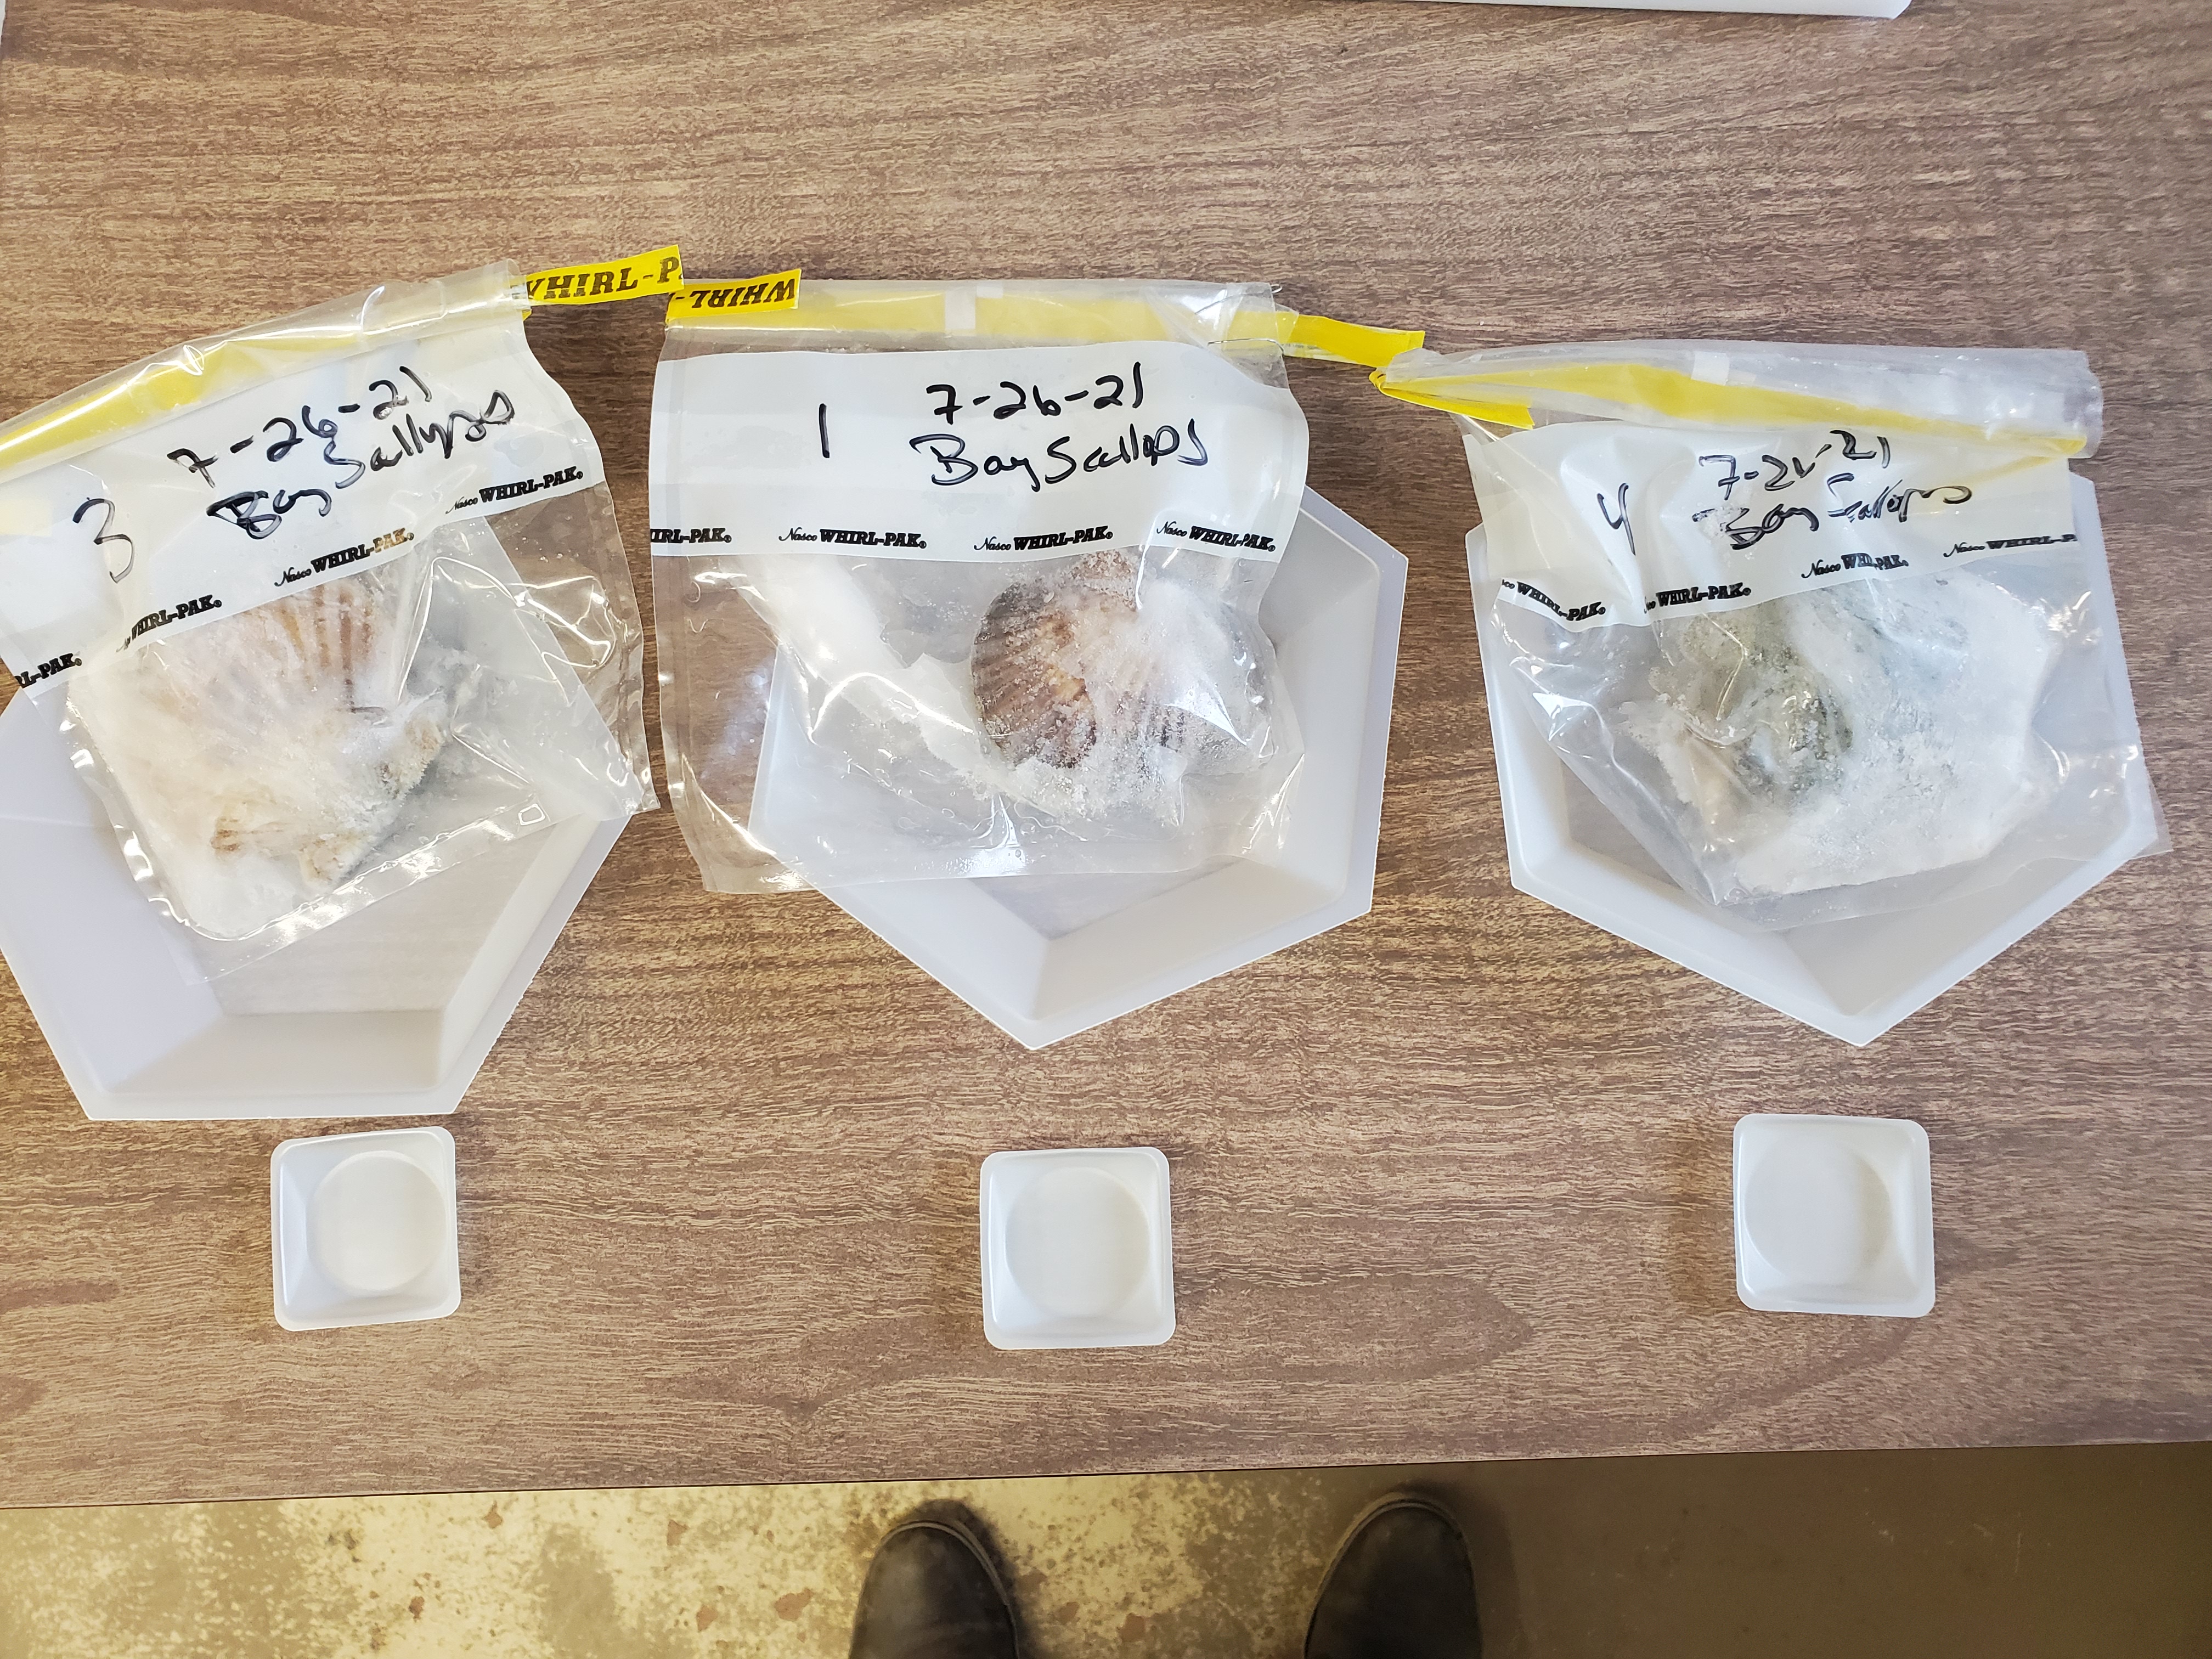
- vessels: large (for adult scallop) and small (for dissected tissue sample) weigh boats work nicely. Especially considering that a ~30 mg tissue sample must be weighed before added to the TL buffer (step 2 in ‘Procedure’)

- now with your space in order… thaw adult scallops for ~10-15 minutes and begin dissection


-
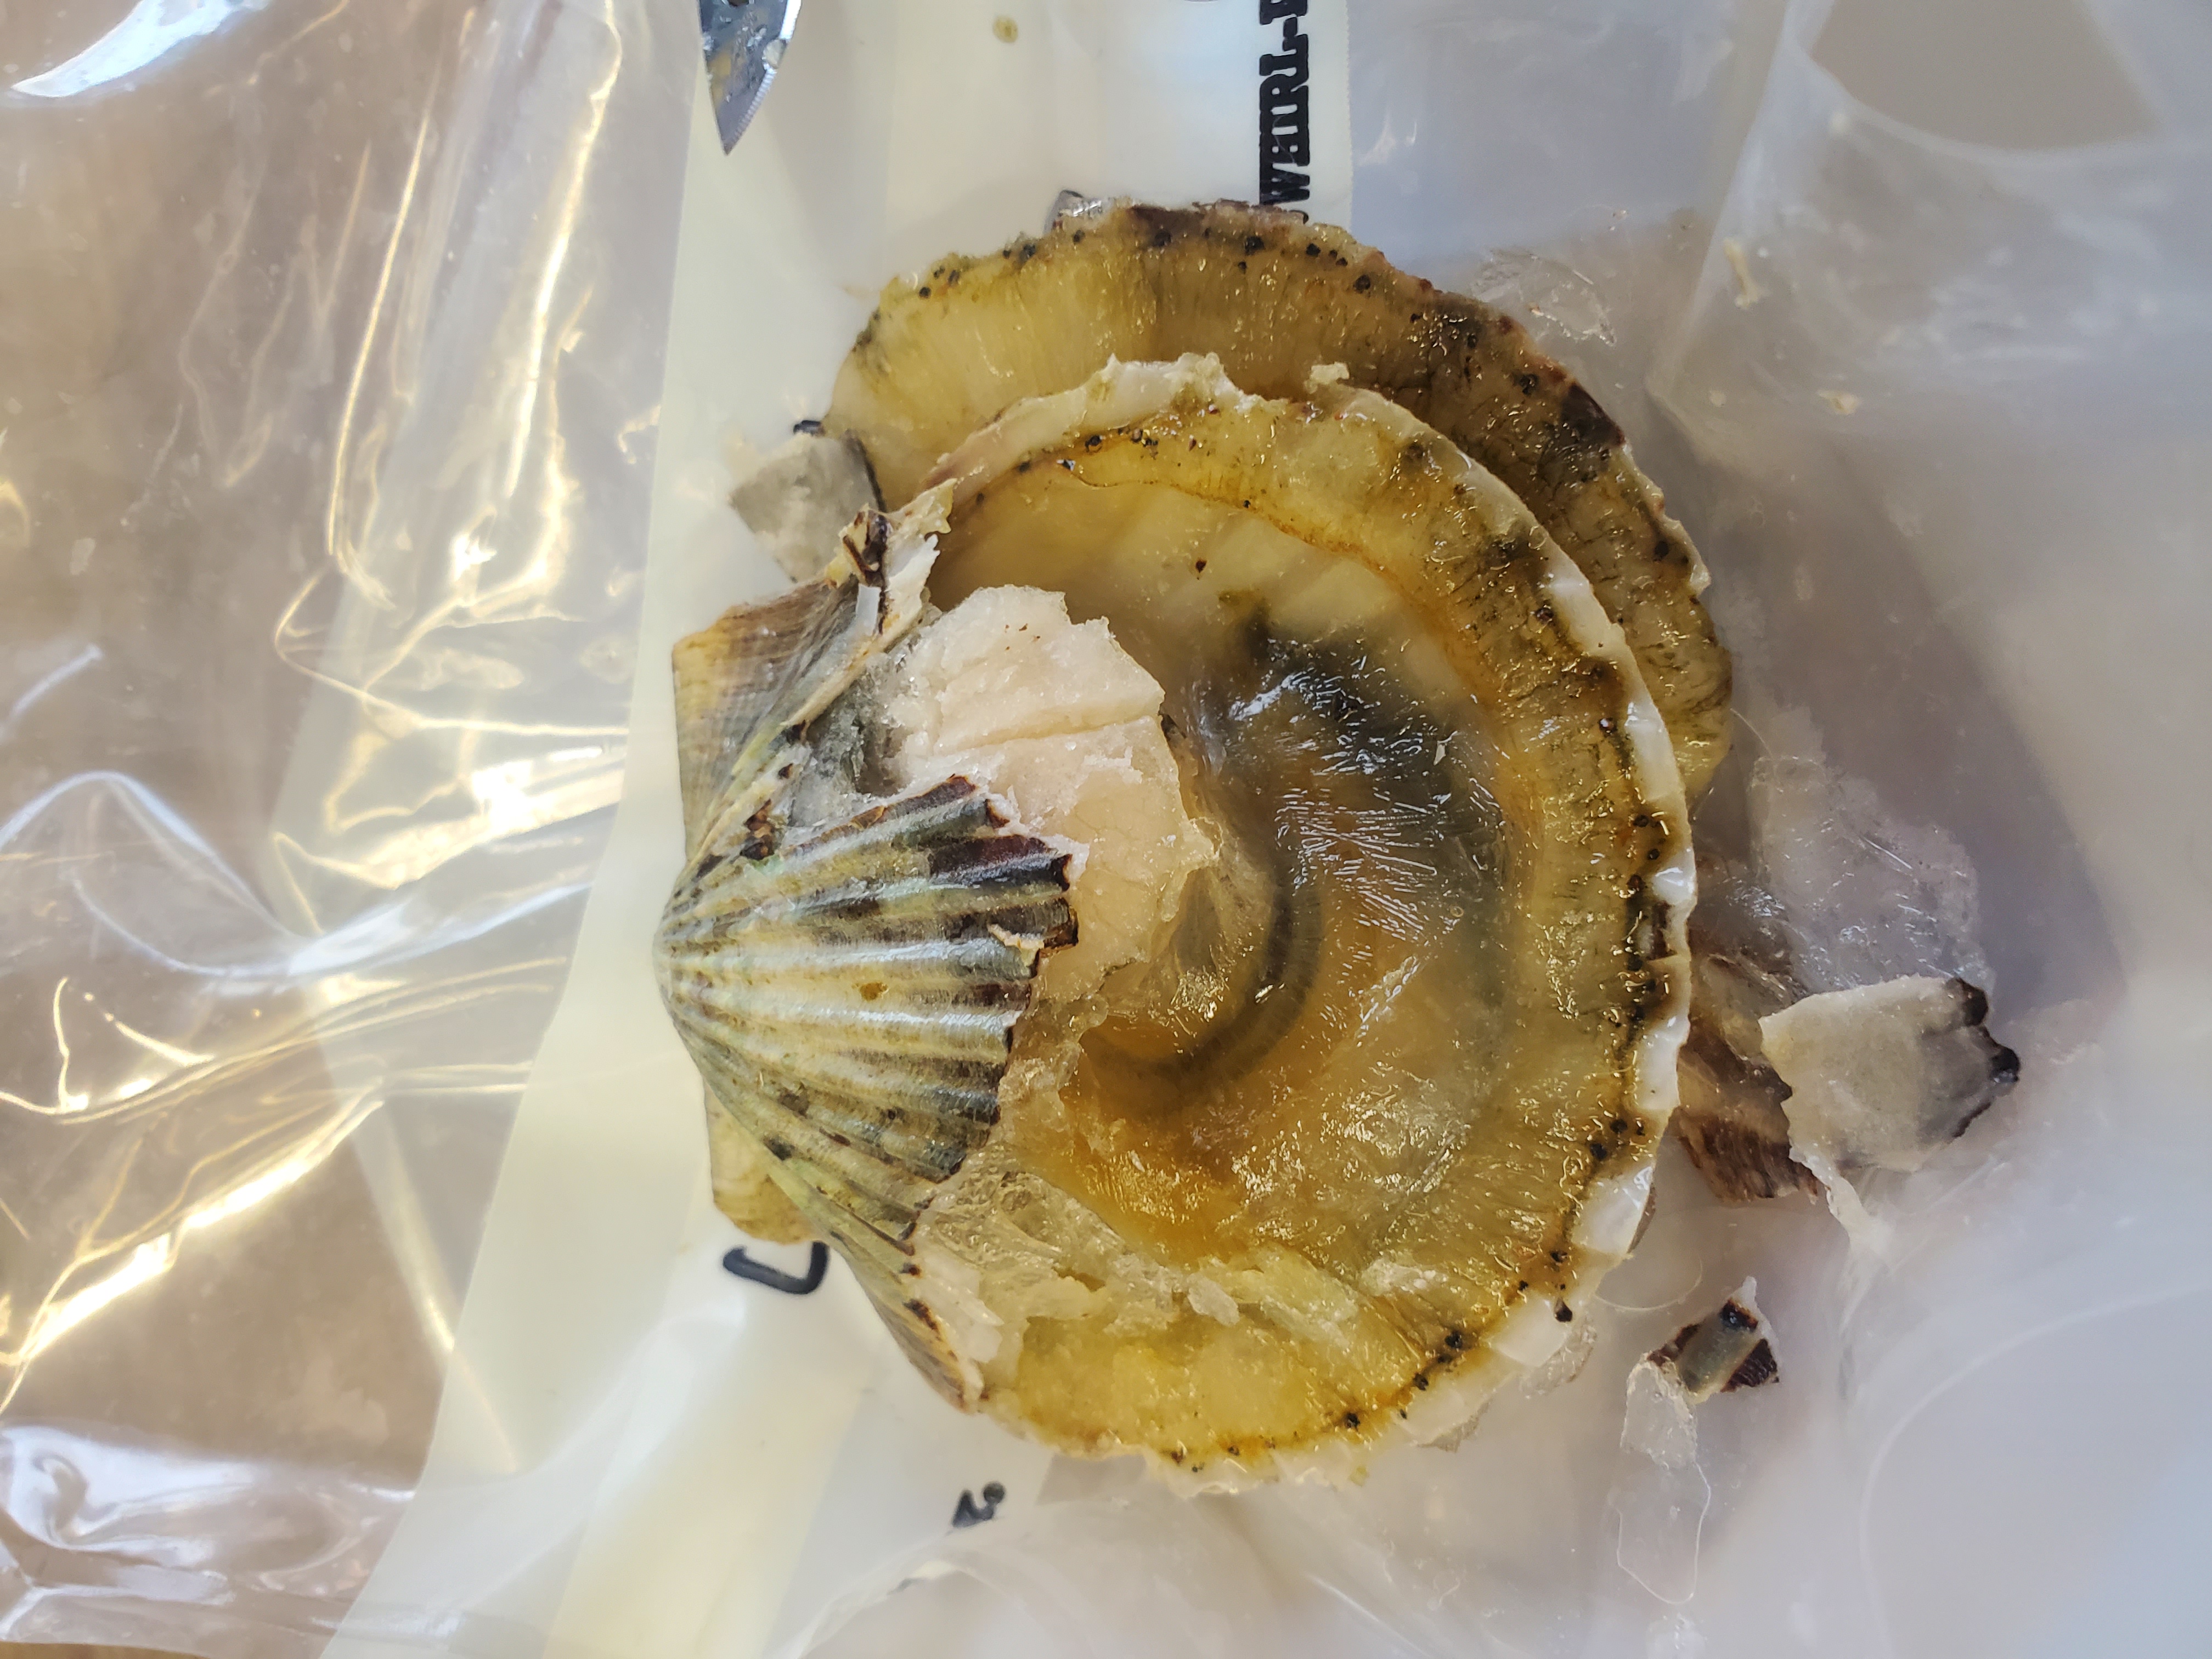
use clean shucking knife to carefully remove enough shell to expose the adductor muscle
-
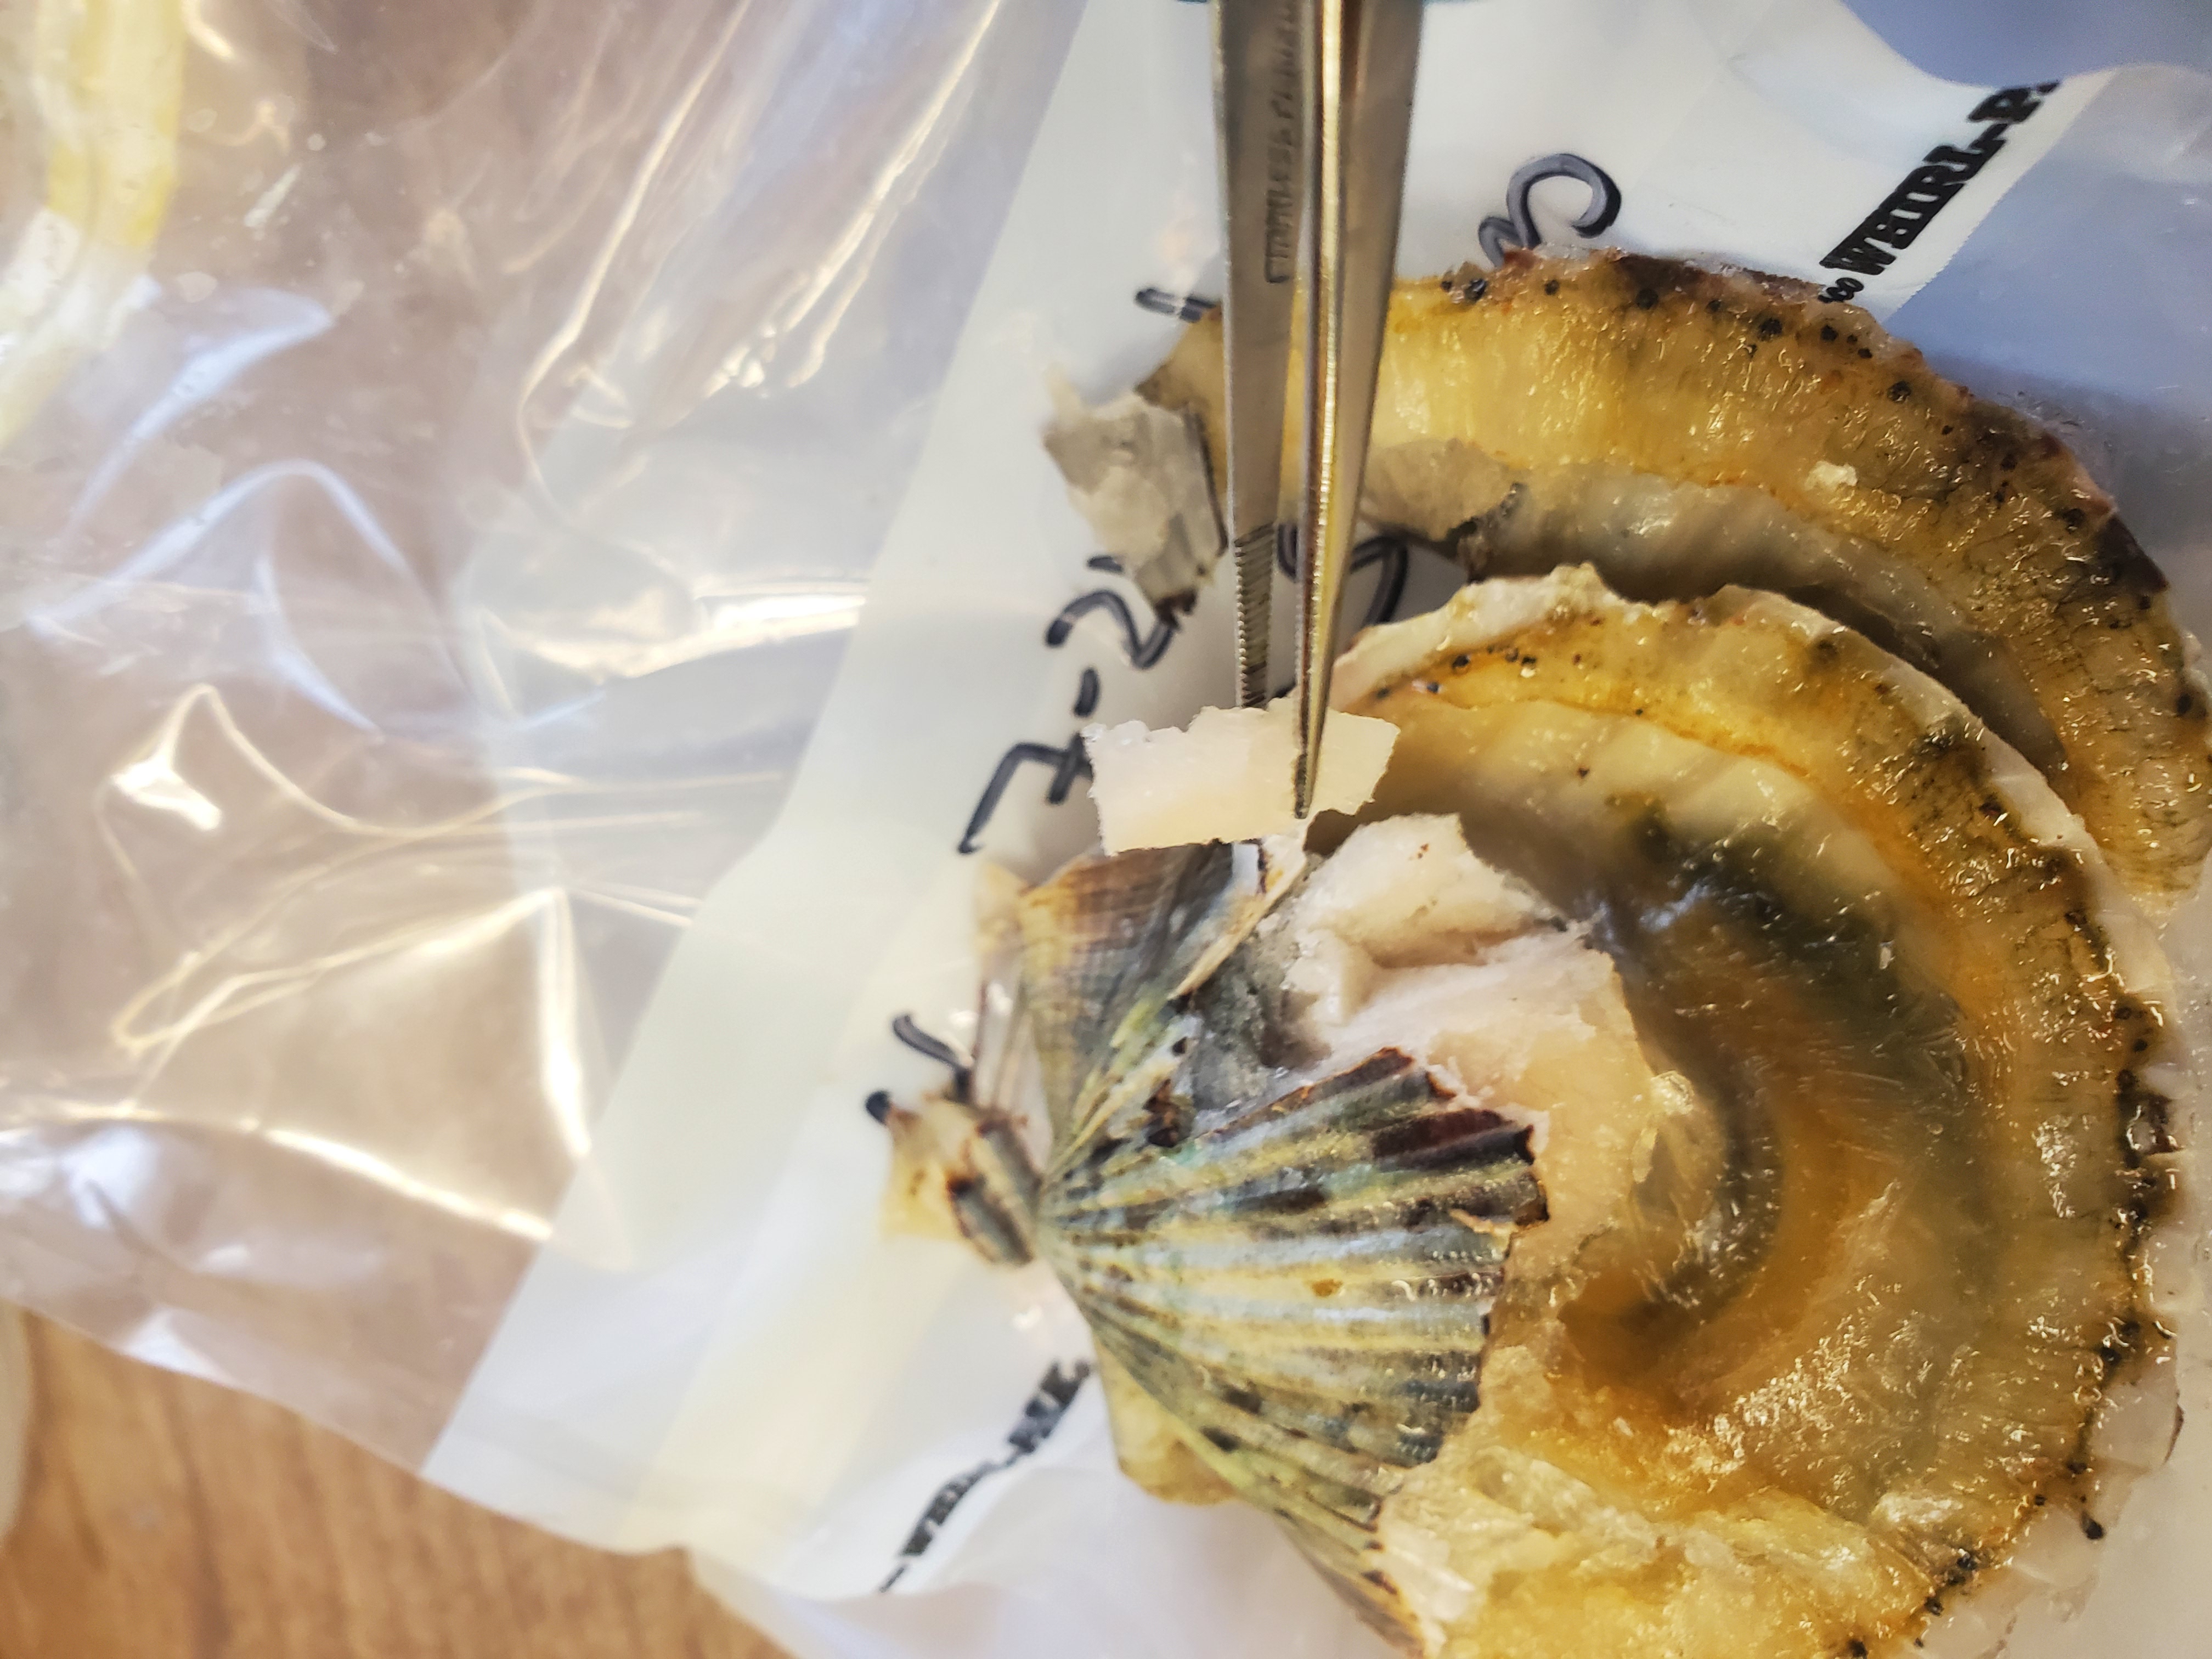
dissect desired samples
- above are photos of a large cut of adductor muscle tissue likely ~100-150 mg.
-
Important: Samples like this were fixed in 95% ethanol and stored at -20C. These are critical incase the extraction and sanity checks along the way (quality and quantity via gels and Qubit) require re-extraction of this individual.
- Target samples (smaller than shown above) were dissected and weighed targeting ~30 mg, minced with the same scalpel before proceeding with # 2 below
2. Add 200 µL of TL Buffer to each tube Note: if sample is 40-60 mg use 400 µL TL Buffer
-
Alternative: Add 200 µL TL Buffer to nuclease-free tube beforehand - add the dissected tissue sample straight to the TL buffer
-
Note: if sample is 40-60 mg use 400 µL TL Buffer
3. Add 25 μL Proteinase K Solution. Vortex to mix thoroughly
4. Incubate at 55°C in a shaking water bath. (incushaker is available at the lab)
-
Note: If using the incushaker, set to 55C and 60 RPM overnight or for 3 hours before proceeding. Considering the time to dissect adult tissue it may be easiest to prep us to the Proteinase K step here and incubate overnight
-
Note: If a shaking water bath is not available, vortex the sample every 20-30 minutes. Lysis time depends on the amount and type of tissue used. The average time is usually less than 3 hours. Lysis can proceed overnight.
-
Note: once completed and samples are removed, heat instrument (shaking water bath or incubator) to 70°C to prepare for the next use later in procedure…
- Add [N samples * 200 µL Elution Buffer] to the incubator at 70°C (100 ul x2 per sample)
5. Centrifuge at maximum speed (≥10,000 x g) for 5 minutes.
6. Transfer the supernatant to a sterile (nuclease free) 1.5 mL microcentrifuge tube. Do not disturb or transfer any of the insoluble pellet.
-
Note: expect the volume here to be ~200ul
-
Extractions on 12/22/21 of F0 Adult scallop adductor tissue found the pellet was light and not compounded by centrifugation - presented difficulties taking just the supernatant. This sample was lysed overnight (~18 hours) at 55°C and 60 RPM on the IncuShaker.
7. Add 220 μL BL Buffer. Vortex to mix thoroughly. A wispy precipitate may form upon the addition of BL Buffer. This is does not interfere with DNA recovery
-
Note: Volume here depends on the starting minsced tissue sample!. Adjust the volume of BL Buffer based on the amount of starting material.
-
example: If you used 400 µL of TL Buffer (for 40-60 mg of minced tissue) then add 420 µL BL Buffer and 420 µL 100% ethanol.
8. Incubate at 70°C for 10 minutes.
9. Add 220 μL 100% ethanol. Adjust the volume of ethanol required based on the amount of starting material. Vortex to mix thoroughly.
- Note: Volume here depends on the starting minsced tissue sample!. If 40 mg tissue use 292 µL; 50 mg tissue use 370 µL; 60 mg tissue
10. Prep spin columns and collection tubes. Insert a HiBind® DNA Mini Column into a 2 mL Collection Tube.
11. Transfer the entire sample from Step 9 to the HiBind® DNA Mini Column including any precipitates that may have formed.
- Note: If 30 mg minced tissue was used (*and the default proceeding volumes..) expect the total volume here to be ~640 ul
12. Centrifuge at maximum speed (≥10,000 x g) for 1 minute. Discard the filtrate and reuse the collection tube.
13. Add 500 μL HBC Buffer diluted with 100% isopropanol before use (check on lid if this was already done)
14. Centrifuge at maximum speed (≥10,000 x g) for 30 seconds. Discard the filtrate and collection tube.
15. Insert the HiBind® DNA Mini Column into a new 2 mL Collection Tube.
16. Add 700 μL DNA Wash Buffer diluted with 100% ethanol before use (check on lid if this was already done). Centrifuge at maximum speed (≥10,000 x g) for 30 seconds. Discard the filtrate and reuse the collection tube.
17. Repeat Step 16 for a second DNA Wash Buffer wash step.
18. Centrifuge the empty HiBind® DNA Mini Column at maximum speed (≥10,000 x g) for 2 minutes to dry the column.
- Note: This step is critical for removal of trace ethanol that may interfere with downstream applications.
19. Transfer the HiBind® DNA Mini Column into a nuclease-free 1.5 mL microcentrifuge tube.
20. Add 100-200 μL Elution Buffer heated to 70°C. Let sit at room temperature for 2 minutes. Centrifuge at maximum speed (≥10,000 x g) for 1 minute. DO NOT discard, this is your eluted DNA sample for quality check, library prep, and (fingers crossed) sequencing!
-
Note: Each 200 μL elution will typically yield of 60-70% of the DNA bound to the column. Thus two elutions will generally yield ~90%. However, increasing the elution volume will reduce the concentration of the final product. To obtain DNA at higher concentrations, elution can be carried out using 50-100 μL Elution Buffer (which slightly reduces overall DNA yield). Volumes lower than 50 μL greatly reduce yields. In some instances yields may be increased by incubating the column at 70°C (rather than at room temperature) upon the addition of Elution Buffer.
-
Note: Following these recommendations, I used 100 ul per sample (x2)
21. Repeat Steps 20 for a second elution step.
22. This is your sample! Pipette mix and transfer 10 µL to labelled PCR tubes for gel electrophoresis (used 5 ul DNA sample) and Qubit (uses 1 ul sample)
23. Store eluted DNA at -20°C.
